Finch Guide
  • Overview
    • Welcome to Finch!
    • New Features
    • About
    • FAQ
    • Roadmap
    • Sign Up Here
  • First Steps
    • Create an account and Install Plug-ins
    • Upload your first building - Rhino
      • All about Rhino
    • Upload your first building - Revit
      • All about Revit
    • Upload your first building & context - Forma
    • Advanced: Uploading Walls
  • Massing Studio
    • Customize your mass
    • Calculate Data
  • Floor Plate Studio
    • Generate Unit Mix & Stairwells
    • Generate Unit Mix & Corridors
    • Generate Unit Mix around Circulation
    • Algorithm Theory
  • Unit Plan Studio
    • Adaptive Plan Library
    • Assign Adaptive Plans
    • Enterprise - Generate Unit Plan
  • Fundamentals
    • Tools & Commands
    • Iterate with variants
    • Add context geometry (Rhino)
    • Export
  • Grasshopper
    • Grasshopper - Upload
    • Grasshopper - Download data
    • Grasshopper - Advanced
  • Resources
    • Keyboard shortcuts
    • Feature Bank
    • Video Tutorials
  • Account Details
  • Contact Us
Powered by GitBook
On this page
  • 1. Create your first project in Finch
  • 2. Switch over to Forma and install the Finch extension
  • 3. Send your project to Finch
  1. First Steps

Upload your first building & context - Forma

By using the Finch extension in Forma, you are able to bring over your building volumes and their context to Finch.

PreviousAll about RevitNextAdvanced: Uploading Walls

Last updated 3 months ago

1. Create your first project in Finch

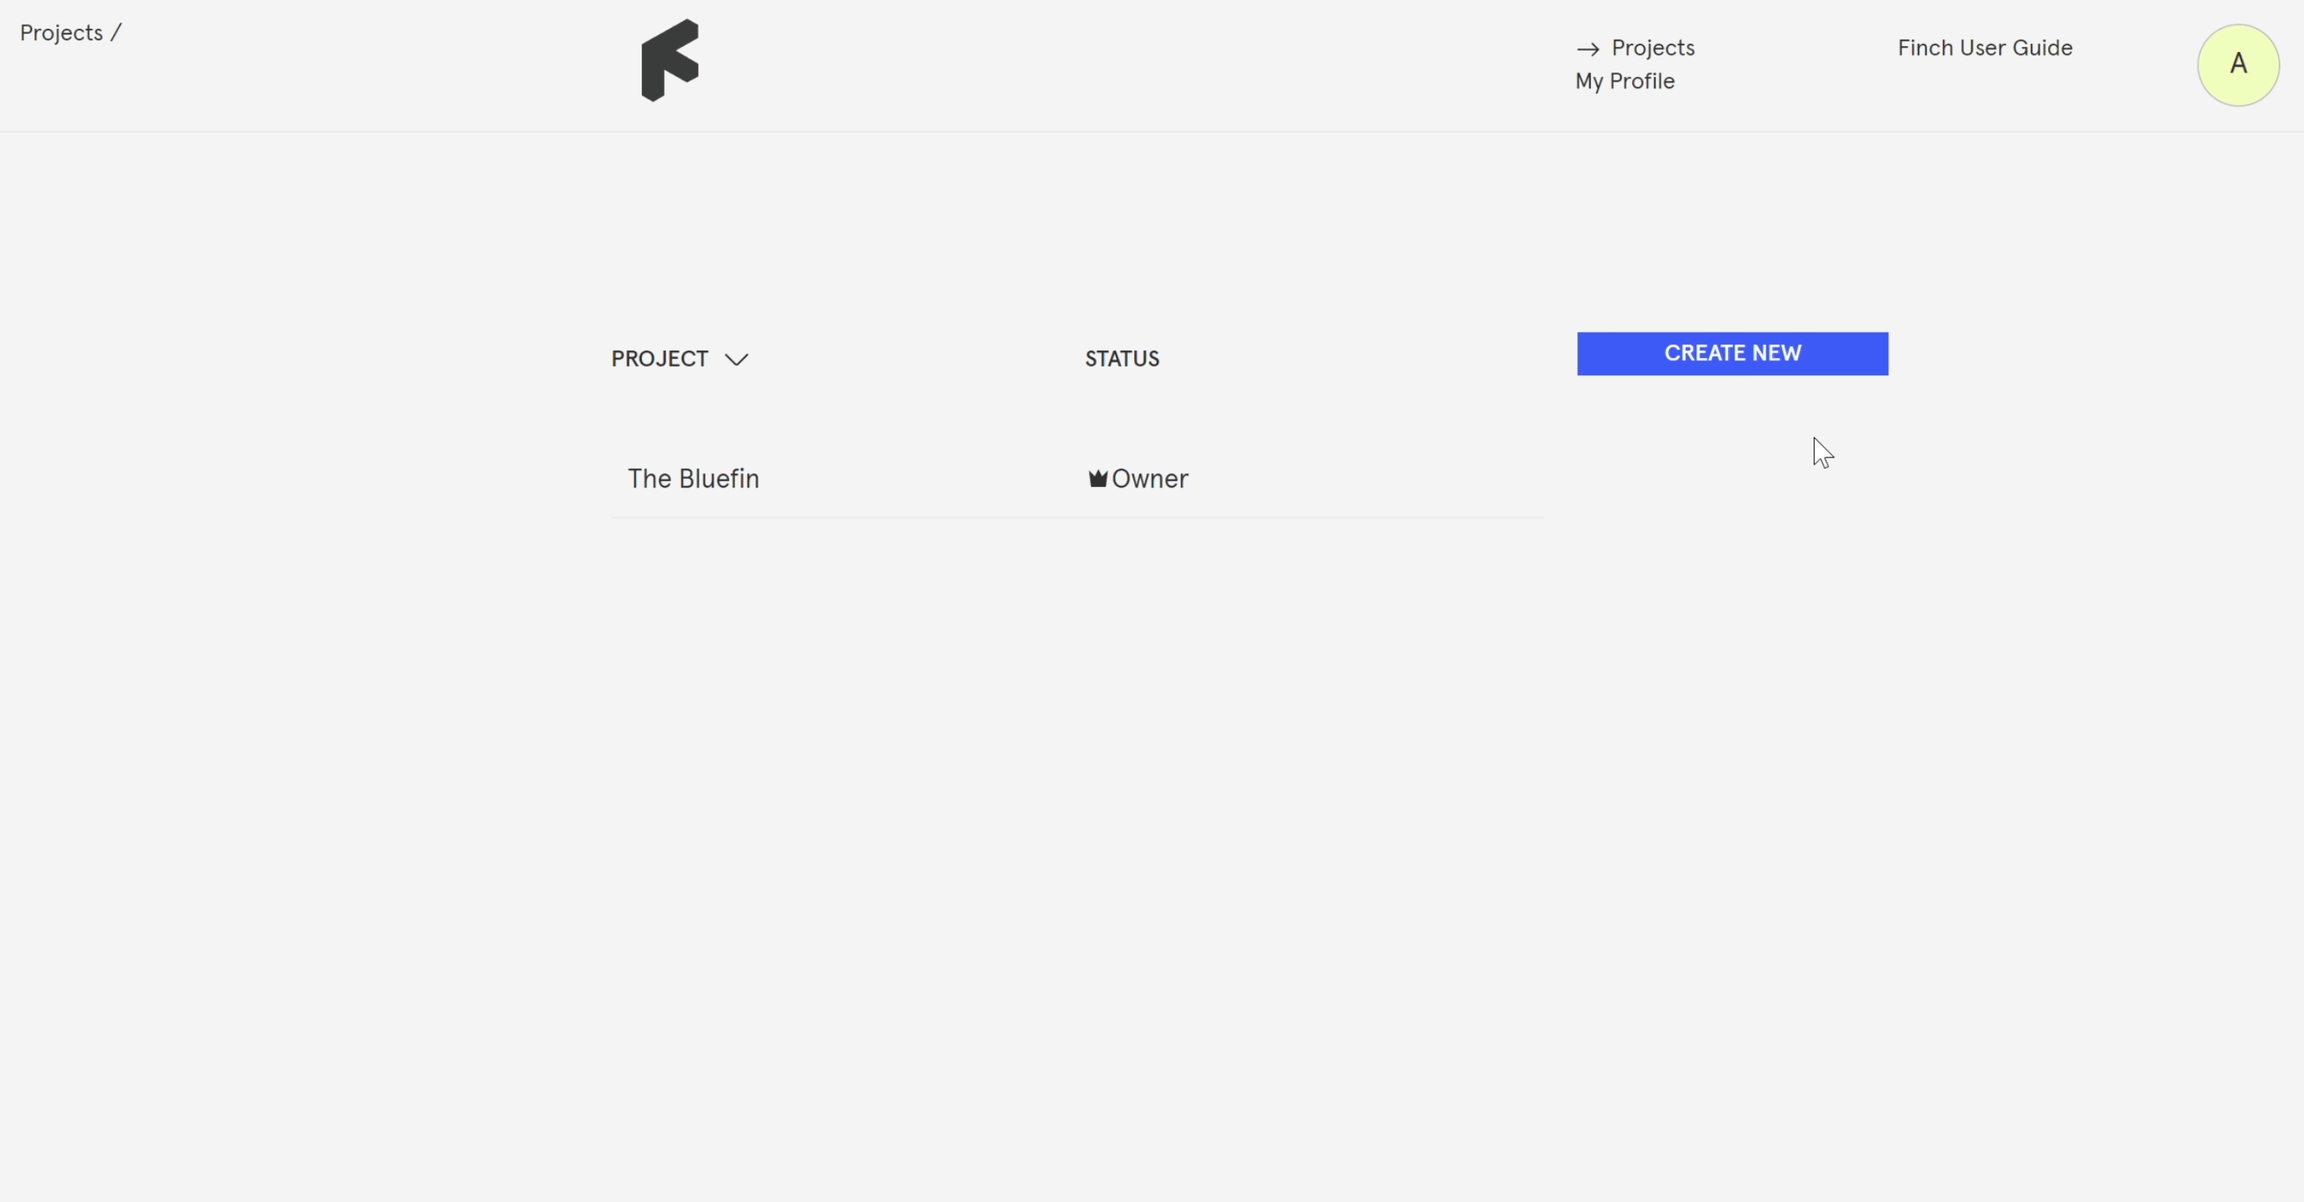
  • Navigate to the Projects page in the web-app and select Create New. Give your project a name and hit OK.

2. Switch over to Forma and install the Finch extension

  • Enter your project in Forma. Under the Extensions category on the left-hand menu, click +Add Extension . This will open the Autodesk App Store.

  • In the App Store, search for Finch in the Search Bar in the top left corner or browse the extension library. Select the extension and Add it to the project.

  • Agree to the Terms and Conditions and close the App Store to go back to your Forma project.

The extension will need to be added again for every new project that you intend to send to Finch.

3. Send your project to Finch

  • Under the Extensions category on the left-hand menu, open the Finch extension.

  • Sign in with your Finch account.

  • Select the project and variant that you want to upload to and click Send to Finch .

  • When the process is complete, an Upload successful popup will appear in the bottom-left corner. Click on Open variant in Finch. This will open your Finch project in a new tab in your browser.

Current limitations:

Only building volumes created with Basic Buildings or Line-edited buildings can be uploaded as editable volumes in Finch. All other types, such as 3D Buildings and Generic Volumes will be uploaded into the Generic layer and be treated as part of the context.