Generate Unit Mix around Circulation
1. Draw a Custom Core (or upload it)
Enter the story view by double clicking on a story.
Draw a custom core using the wall tool (k).
To move walls specific distances, type in a number (mm) while dragging.
To copy walls specific distances, type in a number (mm) while dragging and then press alt.
Don't want to draw your core in Finch? Upload it from Rhino or Revit instead.

2. Assign a corridor
Select the custom core, and hit
Edit Unitto enter the unit plan level.Draw space types using the wall or space divider tool, and create and assign
corridor, elevator and stair space types.
A corridor space type is required to run the algorithm around a custom core. Other space types that will block corridor access (such as elevators, stairs, etc) are recommended but not required.

The floor plate algorithm uses the corridor space type to ensure that each apartment has entry access.
3. Start the generation
A corridor space type is required to run the algorithm around a custom core.
Select the areas you want to generate in (hold shift to select multiple) and hit
Generate Floor Plateon theContext Menu.The generation will begin to run.

By splitting the floor plate into sections by drawing dividing walls before generating, you can have localized control over your unit mix and optimization.
Need large apartments on the outer facade and smaller apartments optimized for daylight on the inner facade? Split the building into an outer and inner section by drawing walls, and run two generations. Request a large unit mix for the exterior section and a smaller unit mix optimized for facade/floor area ratio (daylight) for the interior section.
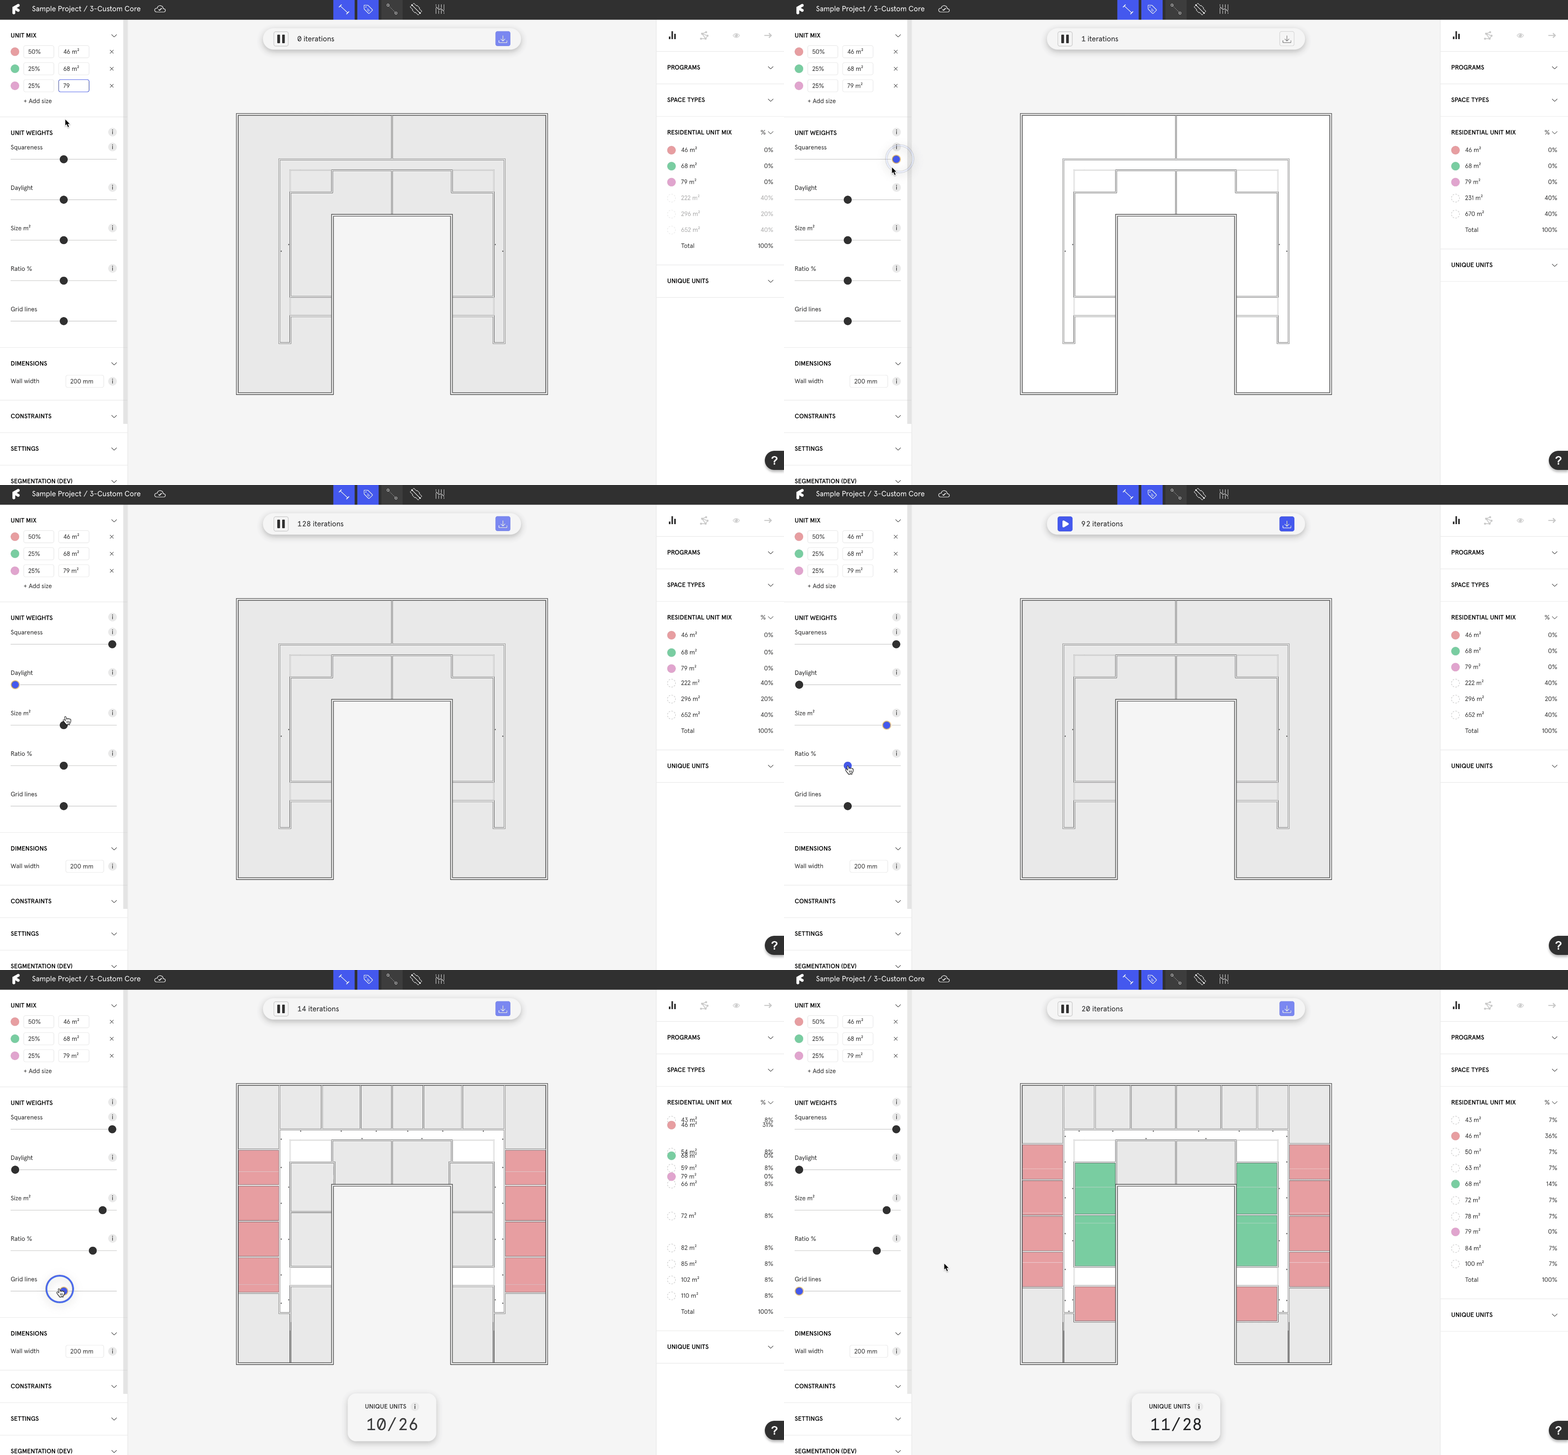
4. Input the Unit Mix
The more iterations that run, the more accurate the result will become.
Input the desired
Unit Mixin the upper left panel.Check the
Residential Unit Mixaccordion menu on the right panel to see if the units are hitting your requirements. Units that are outside of your ranges will be displayed in grey.Your
Residential Unit Mixvisualization ranges can be edited before, during and after generation.

5. Control which metrics the algorithm prioritizes
Users can continously change parameters to interact with the algorithm throughout the generation process.
In the bottom left corner, interact with the algorithm weights to optimize for certain metrics.
Metrics with their sliders further to the right will be prioritized.

6. Assign to story
Once you are satisifed with the generation,
pausethe algorithm and hitAssign to Storyto bake it out.

7. Edit the results
Finch is a complete editing tool. All generated plans can be fully edited and customized.
Drag walls specific distances by typing the distance as you move.

Mirror walls using the
Mirroricon (shift+m) that appears when walls are selected.

Align walls by dragging and holding shift.

Change wall widths by selecting a wall and inputting the new wall thickness in the
Context Menu.

Like one half of the floor plate but not the other? Finch can generate in sections!
Delete the unwanted walls and run the algorithm again in the new section, or draw your own sections using the wall tool.

Last updated