Finch Guide
  • Overview
    • Welcome to Finch!
    • New Features
    • About
    • FAQ
    • Roadmap
    • Sign Up Here
  • First Steps
    • Create an account and Install Plug-ins
    • Upload your first building - Rhino
      • All about Rhino
    • Upload your first building - Revit
      • All about Revit
    • Upload your first building & context - Forma
    • Advanced: Uploading Walls
  • Massing Studio
    • Customize your mass
    • Calculate Data
  • Floor Plate Studio
    • Generate Unit Mix & Stairwells
    • Generate Unit Mix & Corridors
    • Generate Unit Mix around Circulation
    • Algorithm Theory
  • Unit Plan Studio
    • Adaptive Plan Library
    • Assign Adaptive Plans
    • Enterprise - Generate Unit Plan
  • Fundamentals
    • Tools & Commands
    • Iterate with variants
    • Add context geometry (Rhino)
    • Export
  • Grasshopper
    • Grasshopper - Upload
    • Grasshopper - Download data
    • Grasshopper - Advanced
  • Resources
    • Keyboard shortcuts
    • Feature Bank
    • Video Tutorials
  • Account Details
  • Contact Us
Powered by GitBook
On this page
  • 1. Duplicate Variant
  • 2. Create New Variant
  • 3. Edit and sync your new variants
  • 4. Set a camera, thumbnail, and sun location
  • 5. Navigate between variants
  1. Fundamentals

Iterate with variants

PreviousTools & CommandsNextAdd context geometry (Rhino)

Last updated 9 months ago

1. Duplicate Variant

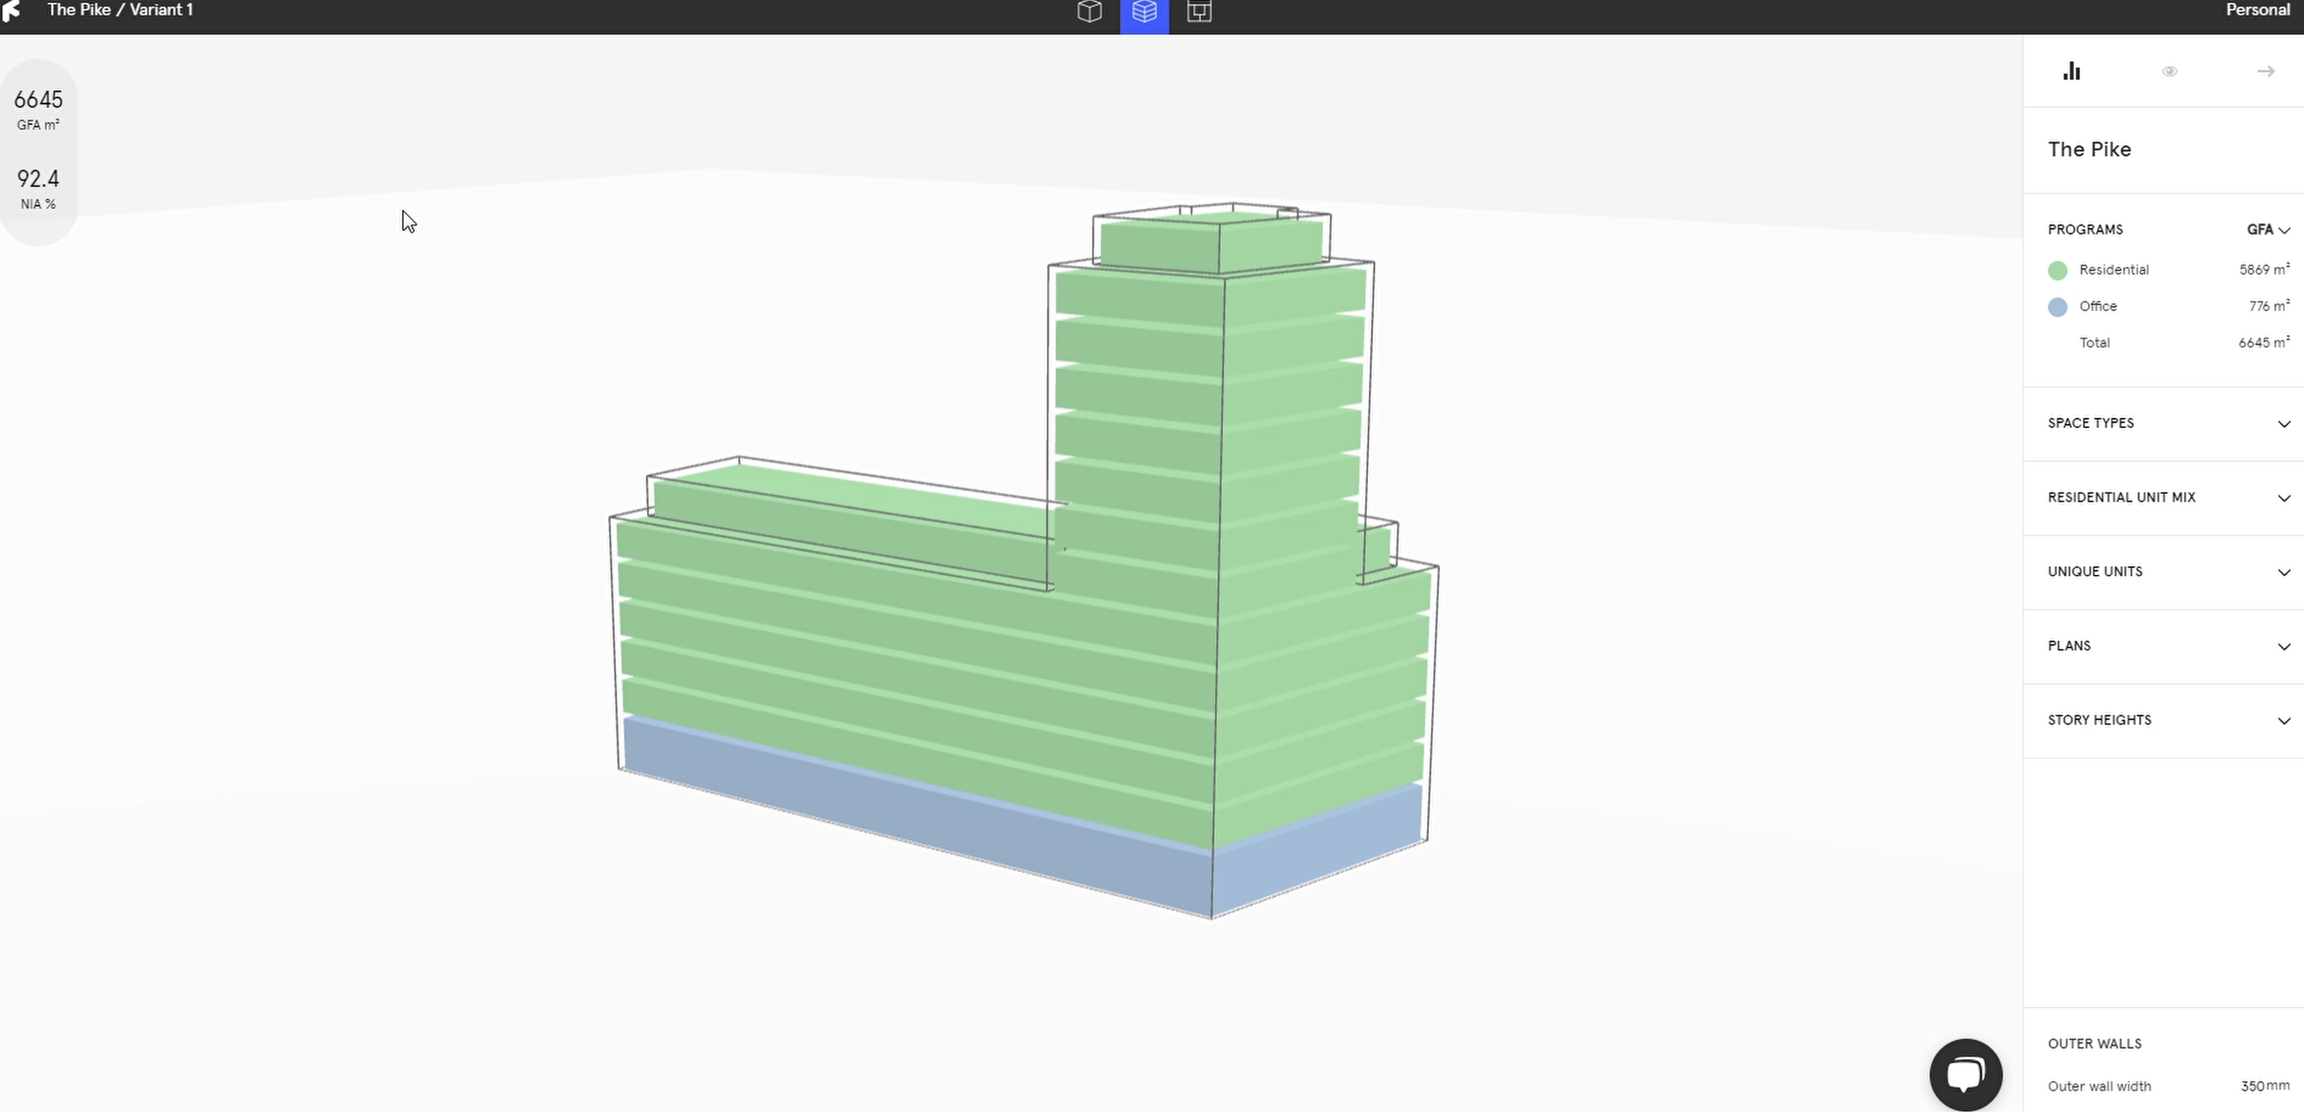
You can use variants to make multiple design proposals within the same project- this means that they will share all data customization and can be compared for different metrics and performance.

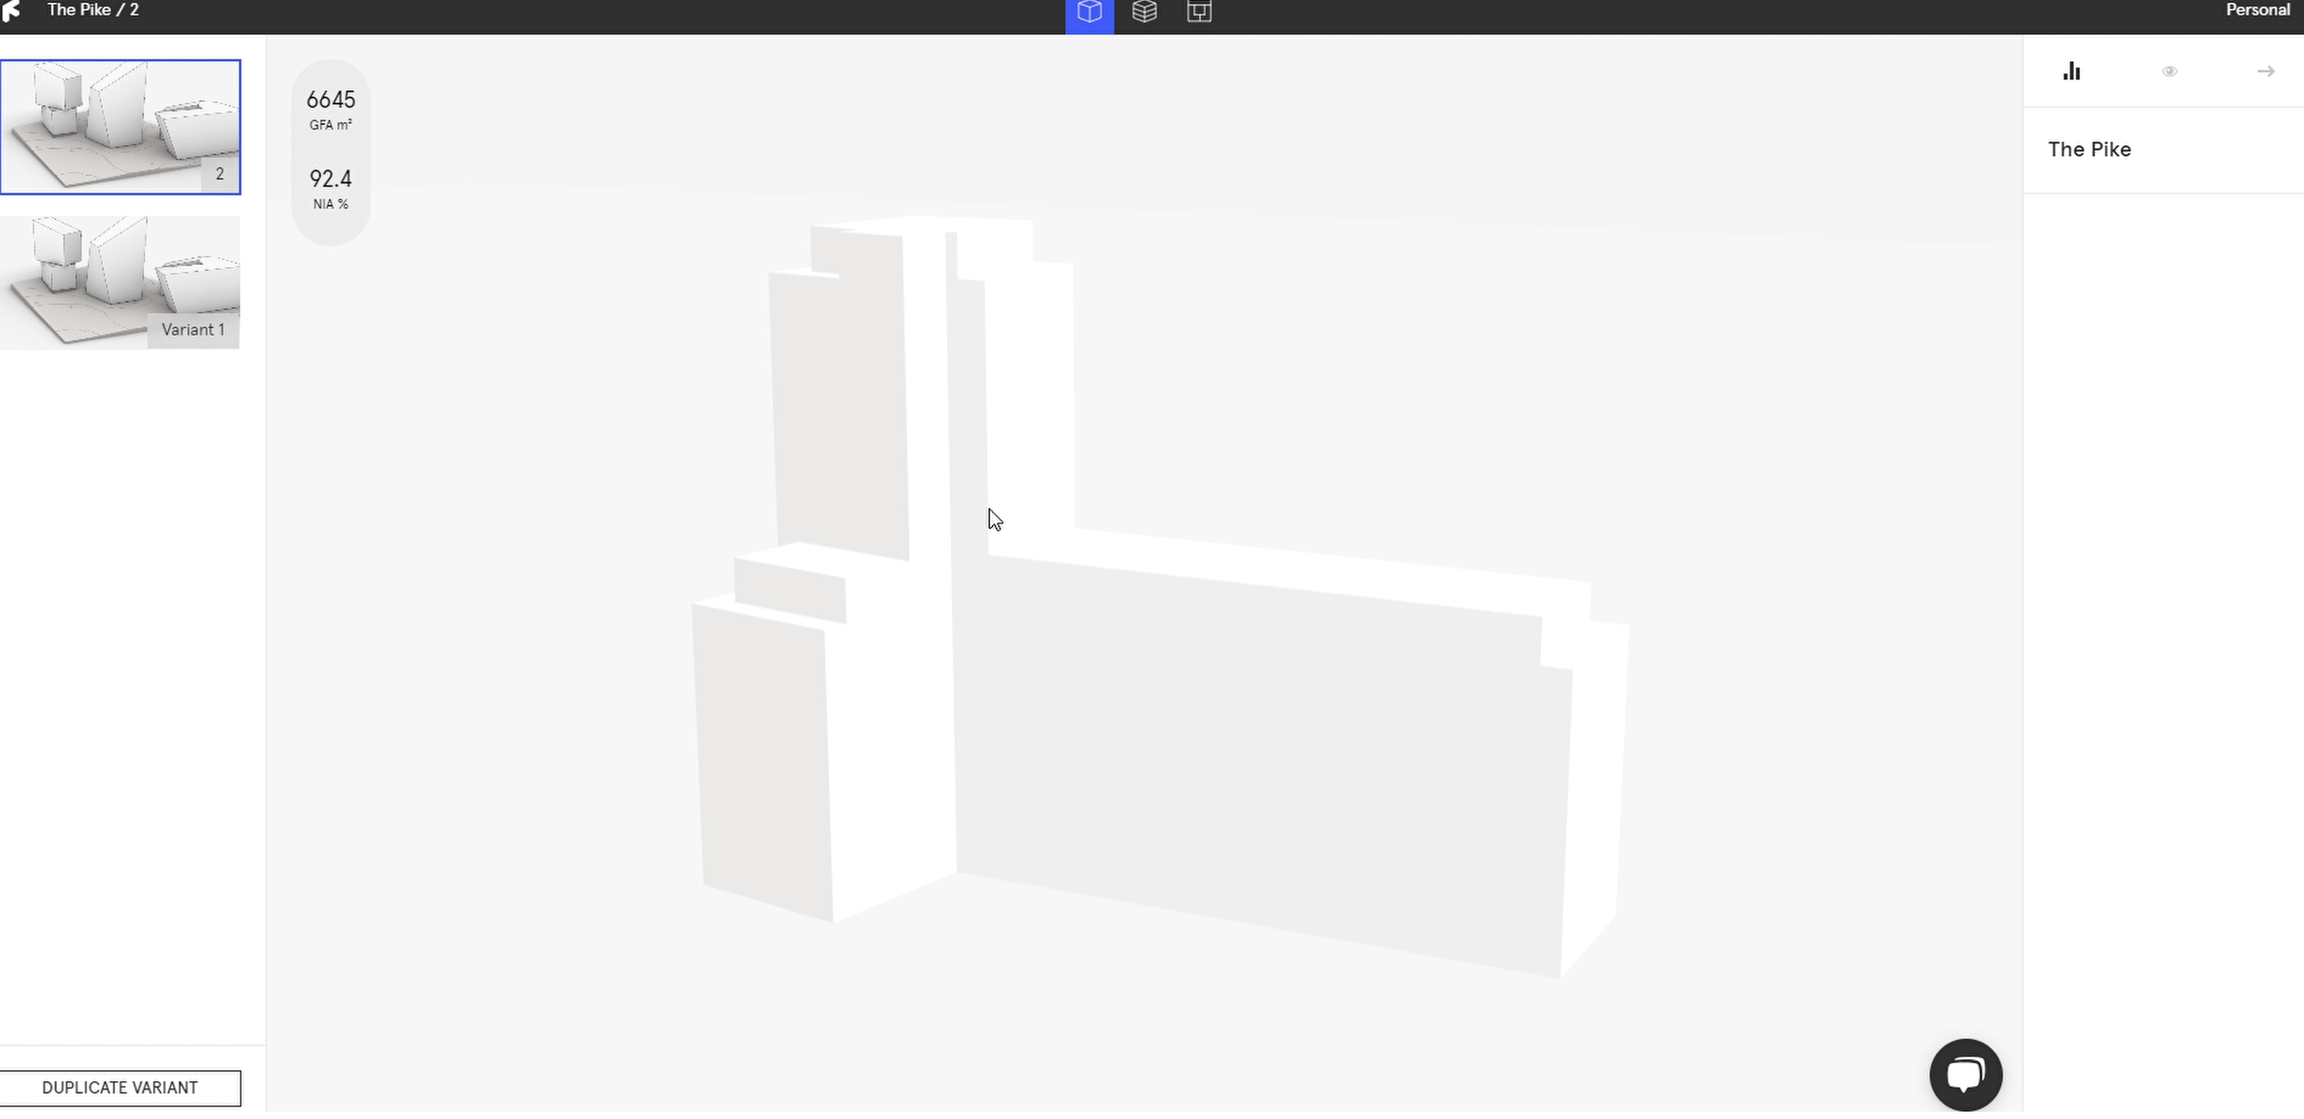
  • Exit the Massing Studio by double clicking outside of the building.

  • Select Duplicate Variant and input a name, hit OK.

2. Create New Variant

Creating a new variant gives you a blank canvas- if you want to have your custom geometry in your new variant, duplicate it instead and delete the building in Rhino.

  • Head out to the project overview by clicking on the Finch Logo in the upper left corner.

  • Here you can find an overview of all variants within your Project.

  • Select Create New Variant and enter a name, hit OK.

3. Edit and sync your new variants

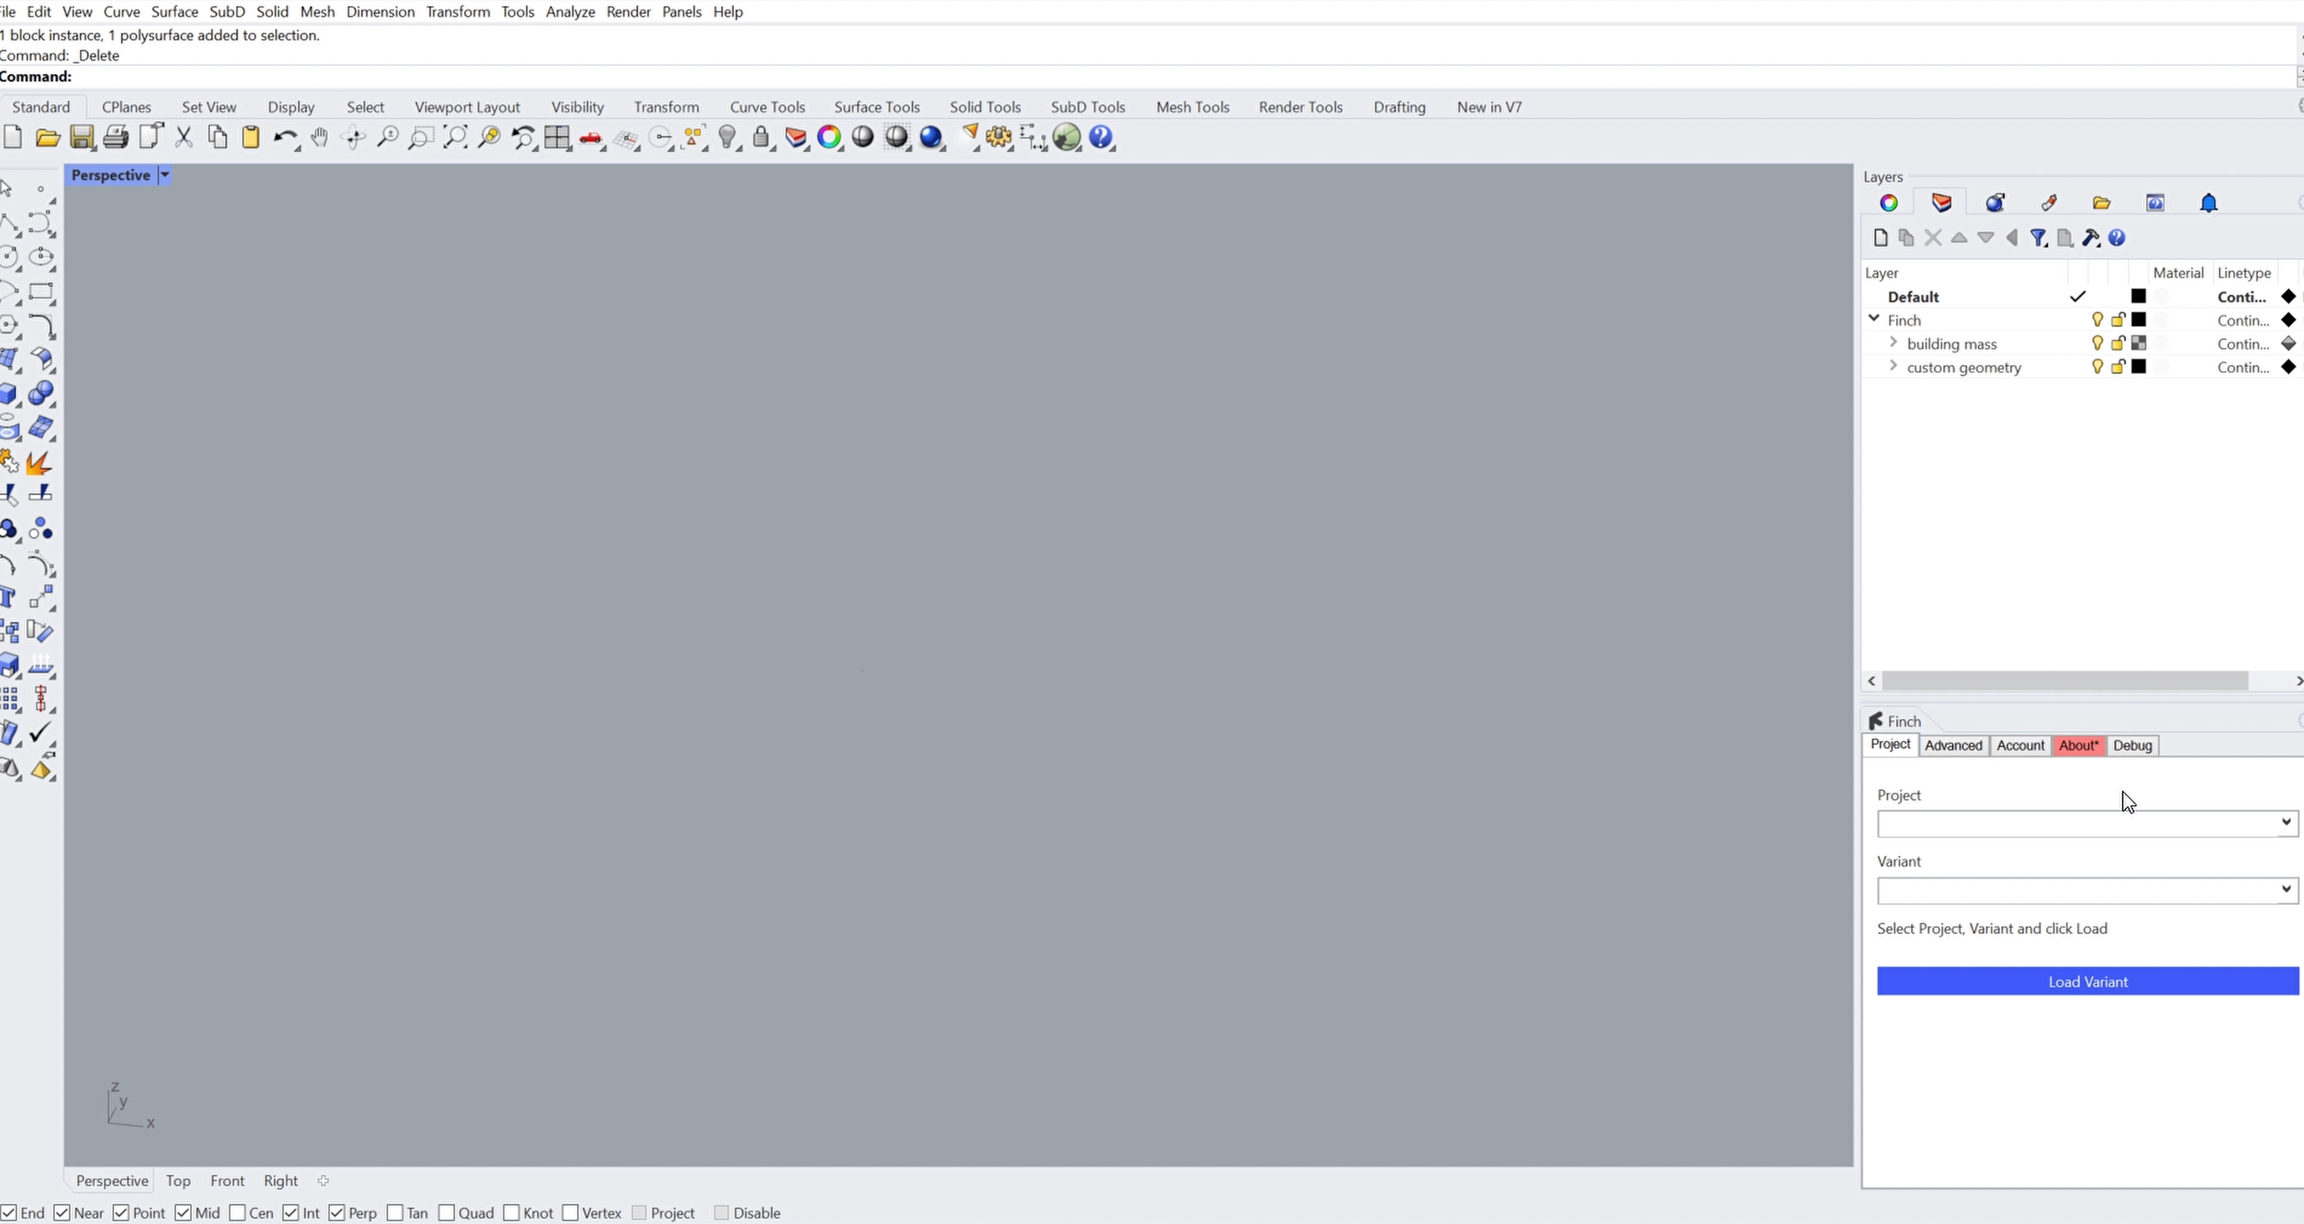
  • In Rhino, Load your new variant from the Variants drop-down menu. Edit the existing mass or add a new mass, and Sync.

4. Set a camera, thumbnail, and sun location

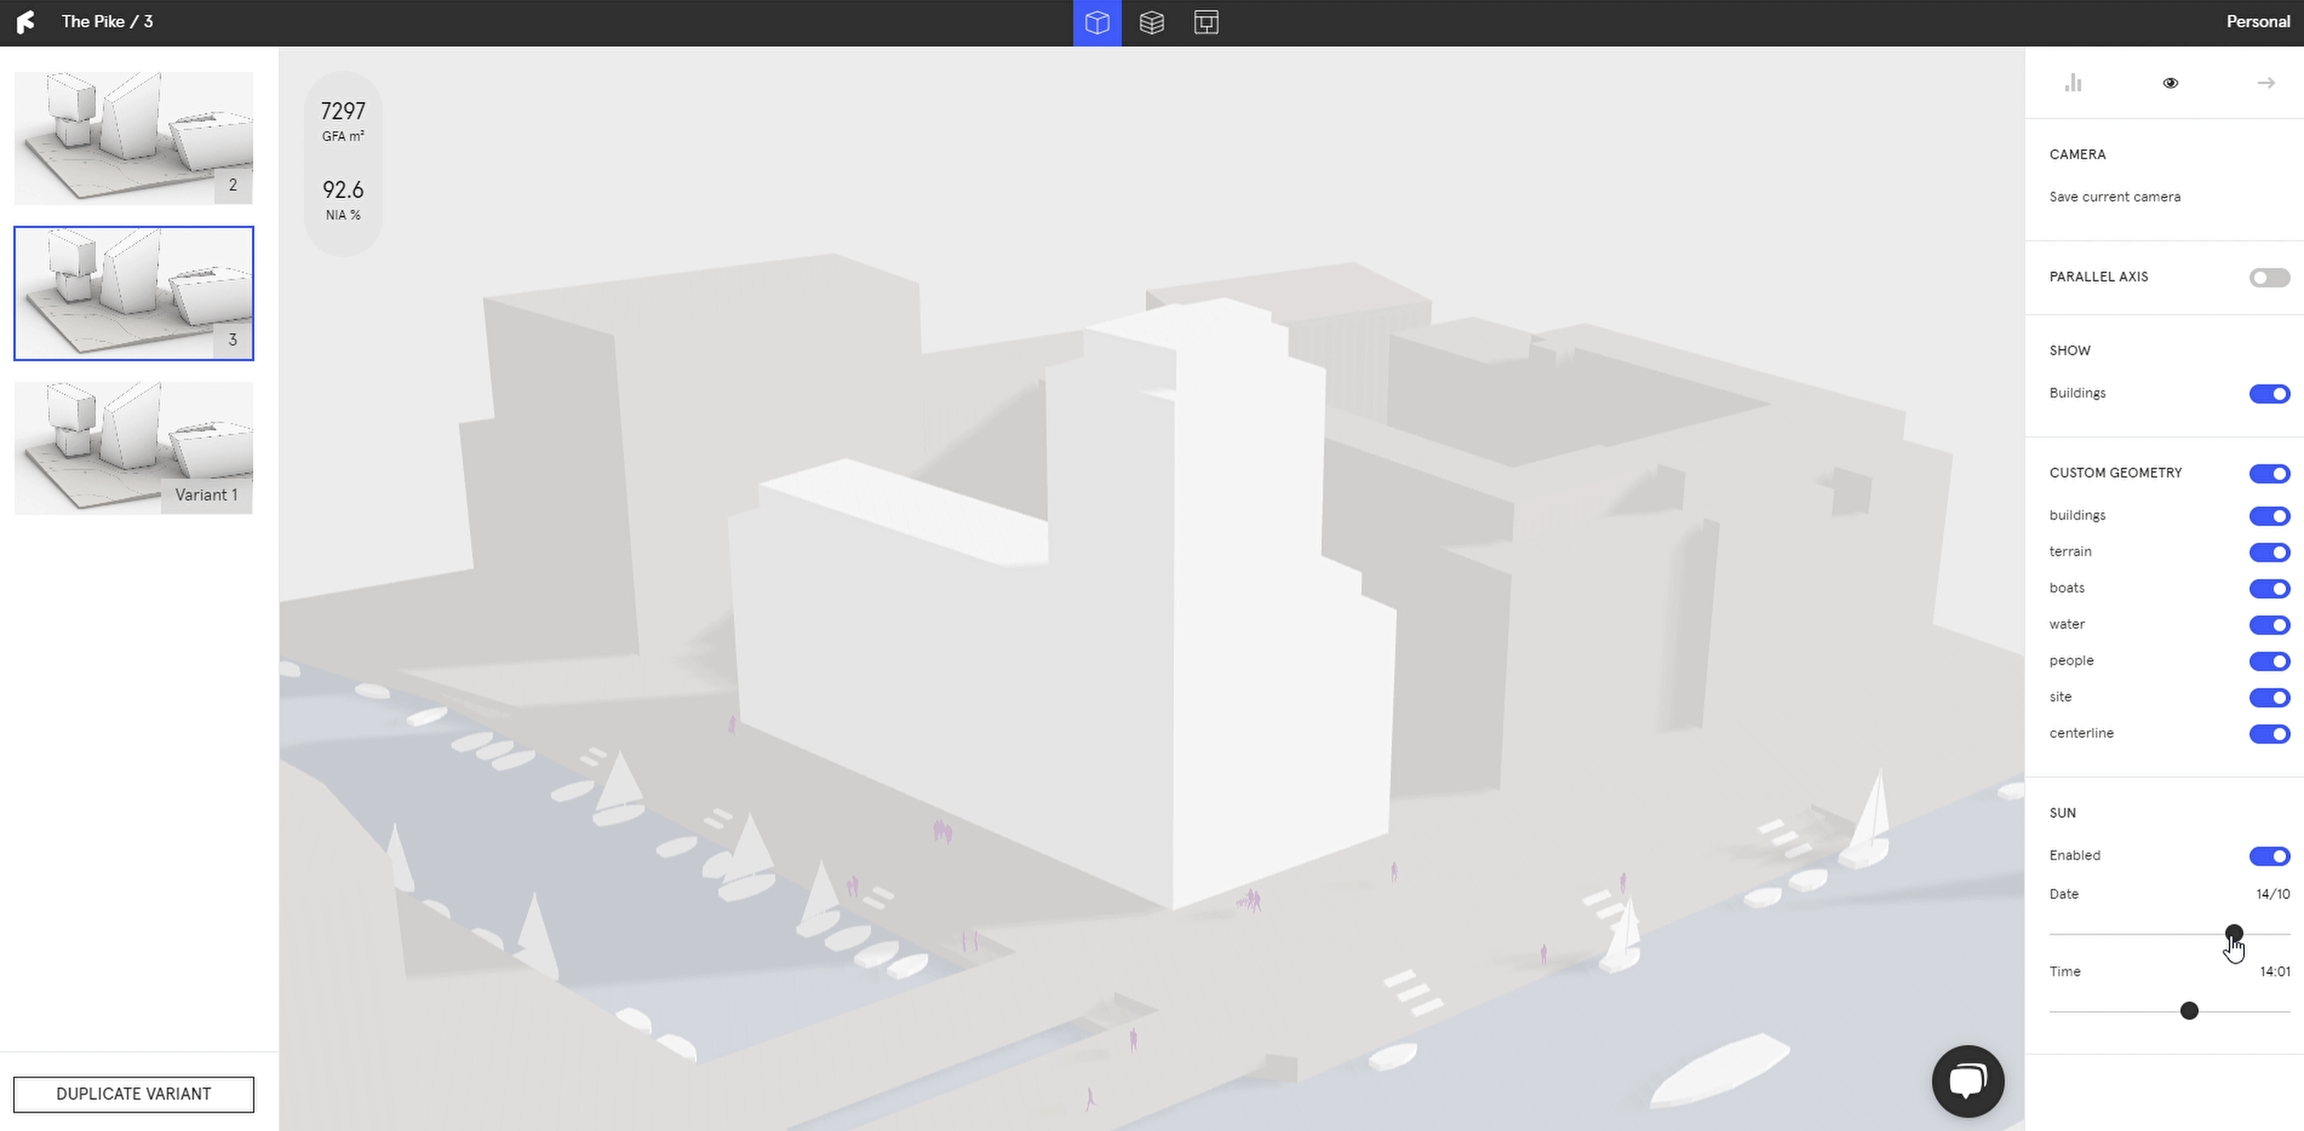
  • In the Display tab of the Right Panel, toggle the Sun. Set a location when prompted and use the sliders to visualize specific dates and times.
  • In the Display tab of the Right Panel, select Set current view as camera to save a view across all variants in a project. This allows you to have thumbnails from the same view.

  • In the Export tab of the Right Panel, select Set current view as thumbnail to set a thumbnail.

5. Navigate between variants

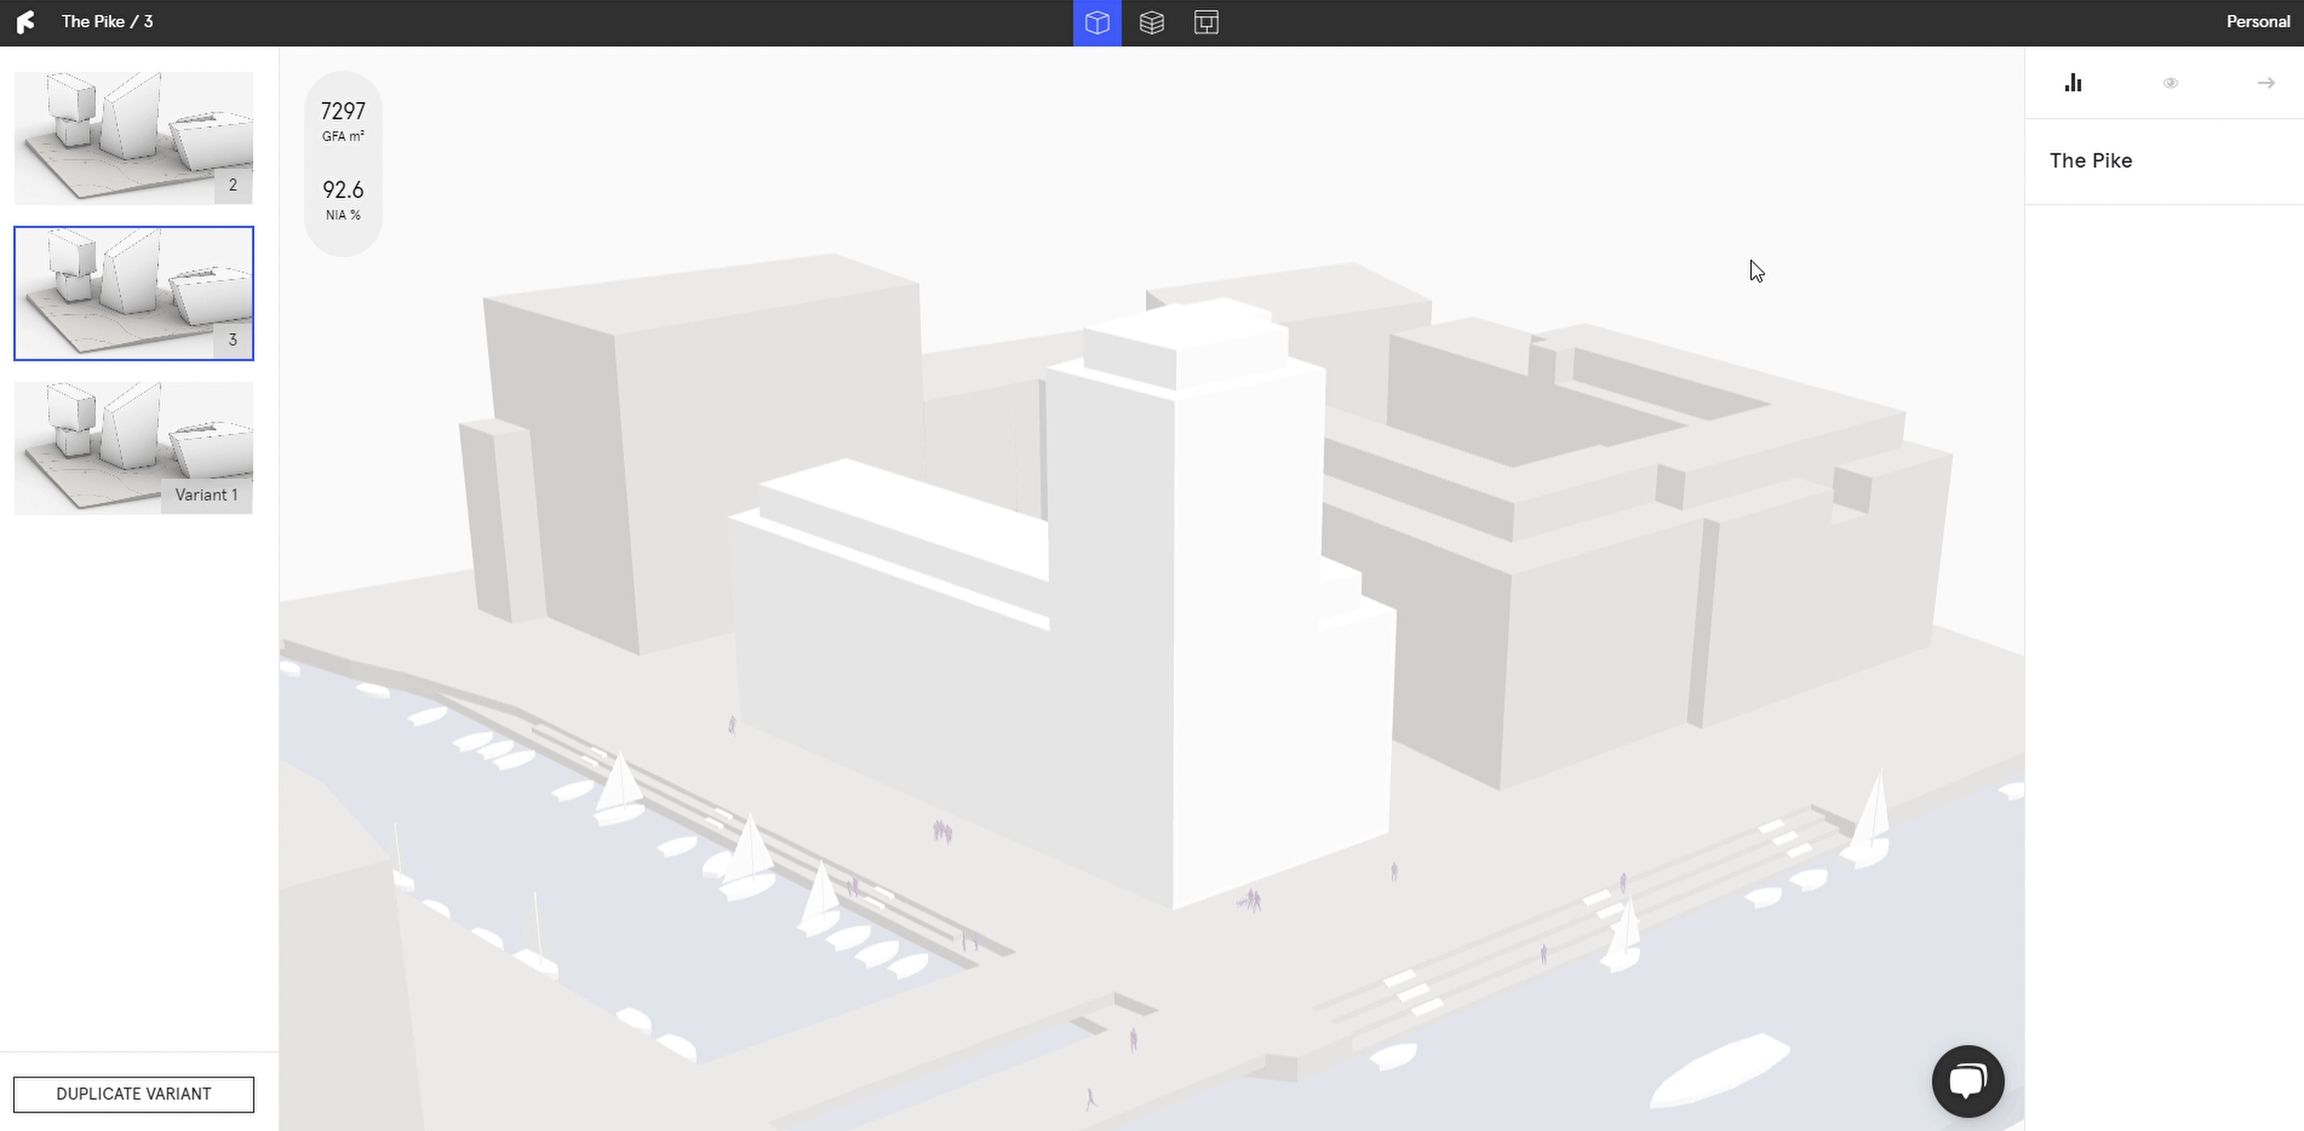
  • In Finch Exterior View, all variants are listed on the Left Panel.

  • Hover and select the different variants to see the Key Figures and compare them.

In the Right Panel, toggle the Parallel Axis Diagram to compare the different variant's data.